
The Angelchik Guide to Hosting
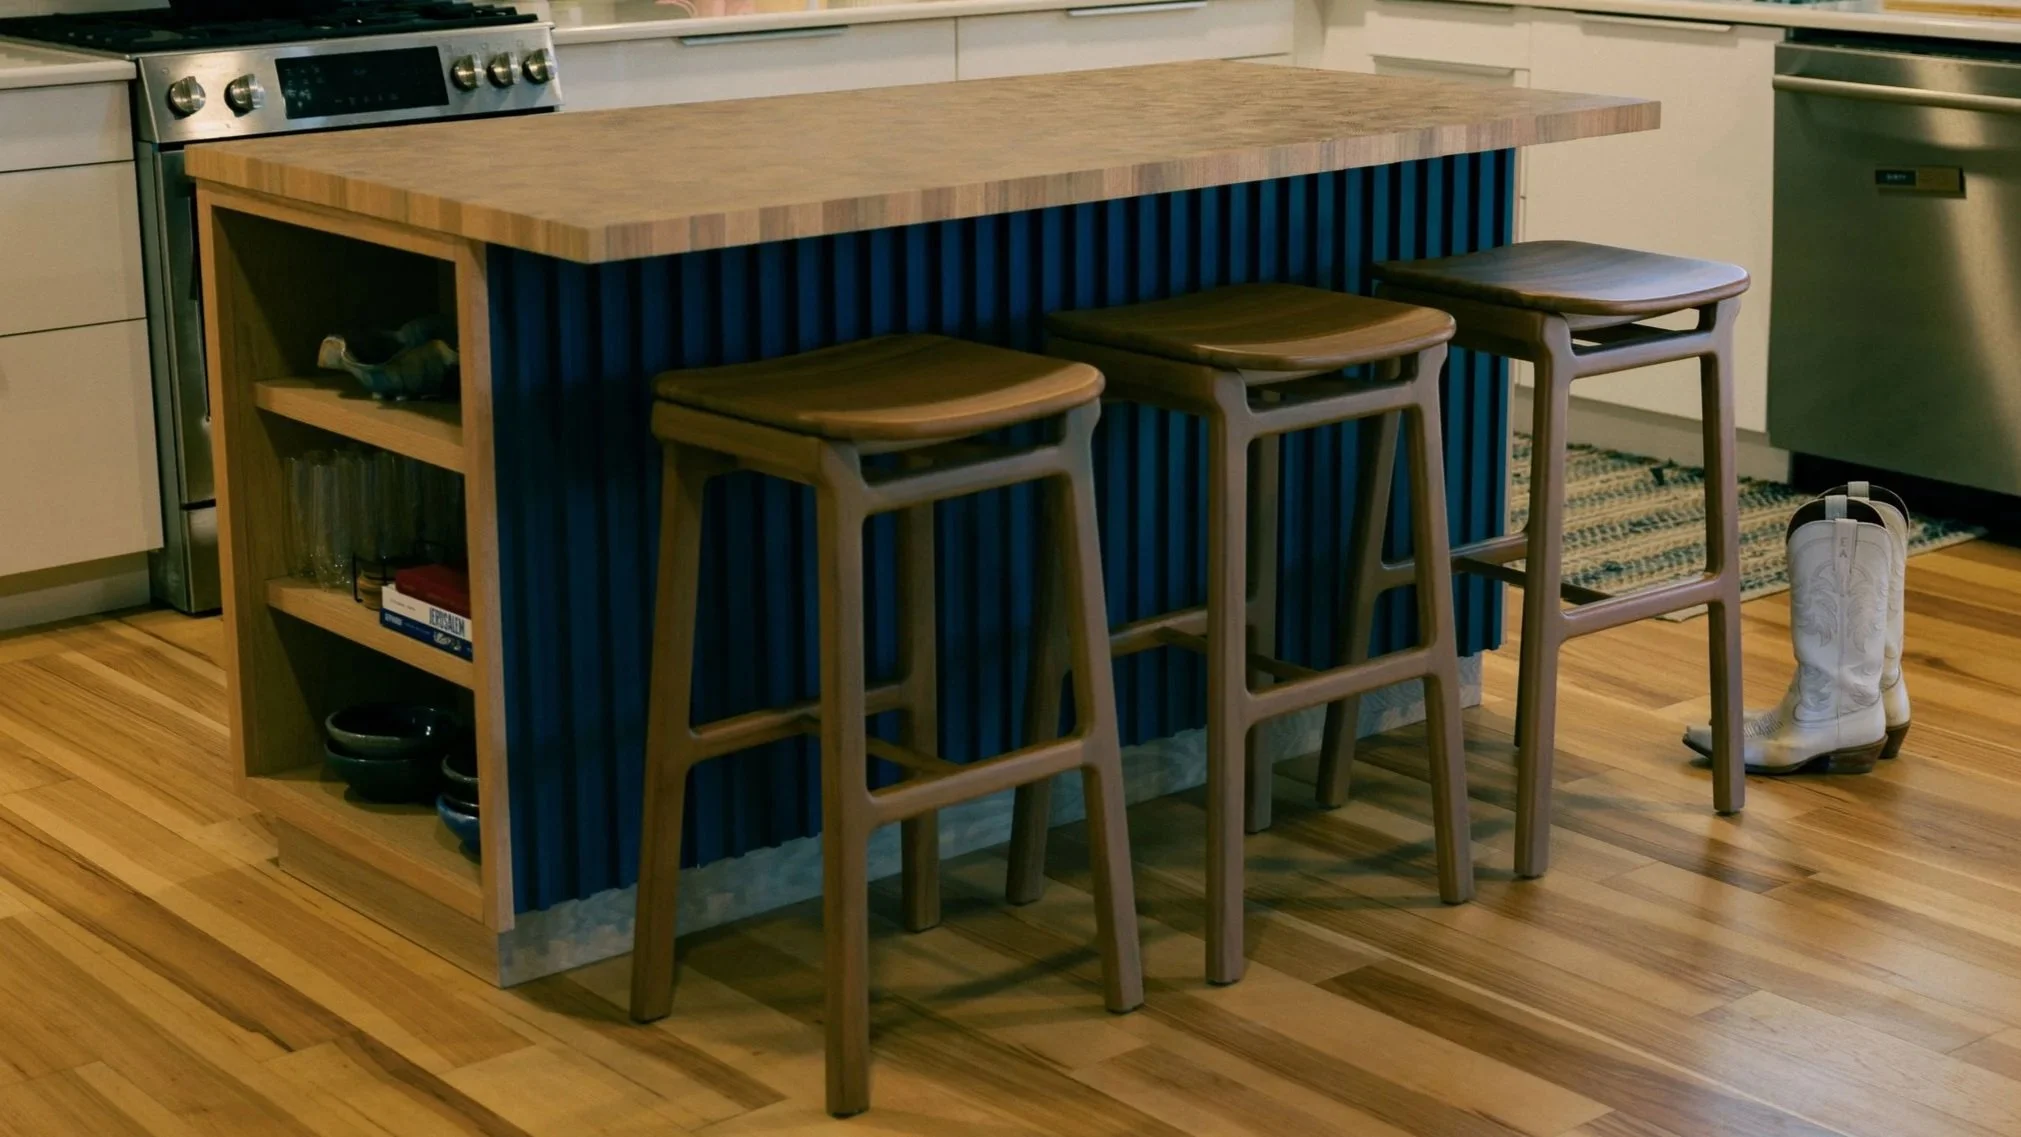
The following guide is directly from our clients, Elena & Josh. We had such a fun time celebrating their new Custom Kitchen Island, we asked them to gather a few recipes and pointers for hosting. They’ve organized their thoughts below. Enjoy!

Greetings
Upon arrival at the house, you'll receive a cacophonous greeting from our two beautiful assistants, Piper and Otter. It's mandatory to give them a pet or two, and they'll proceed to follow you for the rest of your time at the house.
Tortillas
The true vessel of a Mexican dish. Whether plain or decorated, we rely on it to transport the mains and maintain its integrity throughout the meal. We very much prefer corn tortillas over flour, but each has its place (not to mention all other types, such as cassava flour). Our favorite brand of masa for corn tortillas is Masienda. Below is our recommended recipe and method:
-
Masa (1 cup)
Water (1.5 cups, shouldn’t need to use it all)
Tortilla press (or rolling pin or wine bottle)
If using a tortilla press, will need a gallon ziplock bag cut into two squares about the size of the tortilla press
Salt (1 pinch)
Optional accoutrements (black pepper, finely diced Serrano or cilantro, cinnamon, whatever you want — be a freak with it)
Skillet (cast iron preferably but whatever works)
Tortilla holder or thin kitchen towel for storing
-
Add dry masa to a large bowl as well as a pinch or two of salt and any accoutrements if you so desire.
Heat up water on the stove until it's almost too hot to the touch.
Add about half of the water and start mixing with a fork or with your hands.
Once it's mixed relatively well (will probably look chunky), add water a little bit at a time and knead/mix by hand until you reach a “Play-Doh” like consistency (doesn't stick to your hands but isn't dry and crumbly).
Prep the tortilla press by placing one plastic square on the bottom.
Start making tortilla balls — grab a smaller handful of masa and roll it into a ball in your hands. Try to avoid leaving any cracks or air pockets.
Start heating your skillet — medium heat is recommended.
Once your ball is formed, place it in the middle of the tortilla press base, add the second plastic square on top, and press down. Lift the press and rotate the plastic and press again to get an even thickness throughout the tortilla. You want it to be as thin as possible without ripping when peeling the plastic off.
Remove the plastic-encased tortilla from the press. Holding it in one hand, peel off the top plastic, then flop the tortilla into your other hand, and peel off the bottom plastic.
Flop the tortilla onto the skillet, and flip once you start to see the edges slightly lift from the skillet.
Repeat ball formation steps onward until you're out of masa!
Set tortillas aside in a tortilla holder or wrapped in a thinner kitchen towel until you're ready to make the tacos. Reheat them on the skillet before adding the cheese and meats.
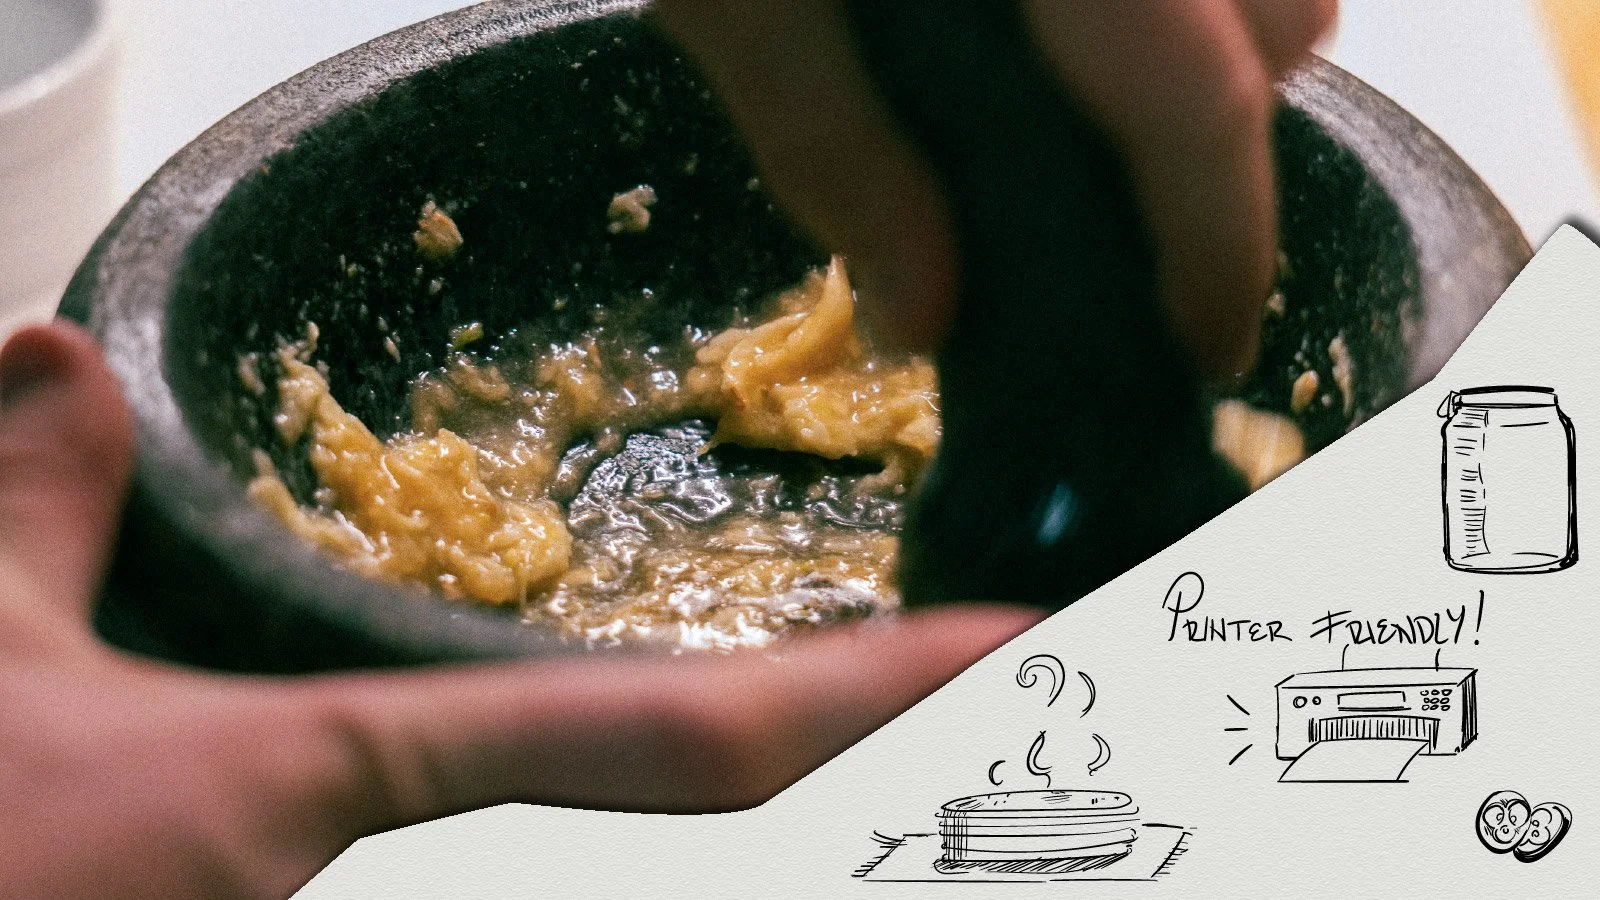
Fermented Escabeche Medley
Escabeche has a variety of interpretations globally, consisting of pickled veggies and spices being used to season fish or chicken. The Mexican interpretation often only focuses on the pickled veg'. In the interest of gut health and a healthy dose of Austinite hipsterism, we'll be fermenting instead of pickling. After eating a few more tacos than you initially planned, your stomach will thank you for this probiotic blessing.
-
1 head of cauliflower, rough chop
1 head of purple cabbage, sliced thin
1 head of swiss chard, chopped
Two large carrots, shredded
1 leek, julienned
5 garlic cloves, mashed or diced
Non-iodized sea salt, 3% of total vegetable mass
Optional: 1 serrano pepper, diced (if you like some heat)
-
Large, fermentation grade jar — ½ gallon or larger
Box grater
Culinary scale
Large mixing bowl
Calculator
-
Process vegetables as dictated in ingredients.
Place large mixing bowl on your scale and tare the scale.
Add your ingredients to the mixing bowl and measure the mass of the vegetables — write this down.
Multiply mass by 3% or .03 using your calculator.
Add 3% mass in non-iodized salt to your mixing bowl and toss veggies.
Let veggies sit for 10 minutes — they will shrink and give off water, making them easier to fit into your fermentation jar.
Pack vegetables in your jar and store away from sunlight.
Once daily, open your jar and taste a bite using a sanitized fork or spoon.
The veggies will continue releasing water — use a fermentation weight or sauerkraut masher to keep veggies below their brine.
Let vegetables ferment to taste — anywhere between 3–7 days is common. The longer they sit, the more they will transform into the probiotic tang we know and love.
Once you've achieved desired flavor, refrigerate.
SAFETY NOTE: Any fuzzy or dark colored molds unfortunately mean your ferment has spoiled. Trust your nose as well — funky is fine, rotten is not. When in doubt, throw it out.
Revived Brisket Bites
Let's talk about leftovers. Any Texan will tell you of the difficulty in smoking a brisket (same way a mechanic tells you it's impossible to change your own oil at home), and the real pains in the a** among us will say it's even more difficult to bring it back to life once it has sat in the fridge or, God forbid, the freezer. This may be partially true if we want to recreate the out-of-the-smoker brisket experience, but we've found an easier way to unlock flavor from the freezer — tacos.
-
¼ lb leftover brisket per person, thawed
-
Large pan (cast iron recommended— the retained heat will be great for serving)
Wooden cooking spoon — plastic is poison, and metal will scratch your pan
-
Cut your brisket into 1-inch cubes.
In a large pan on medium heat and using a wooden spoon, begin cooking your brisket cubes until browned on all sides.
The fibers of the brisket will begin to separate once thoroughly browned. Mash your brisket cubes with your spoon until the fibers separate completely — we're looking for a shredded texture.
Continue browning your shredded brisket until you achieve a crispy exterior.
Cut the heat on your pan and let it warm the brisket while we prep our tacos.
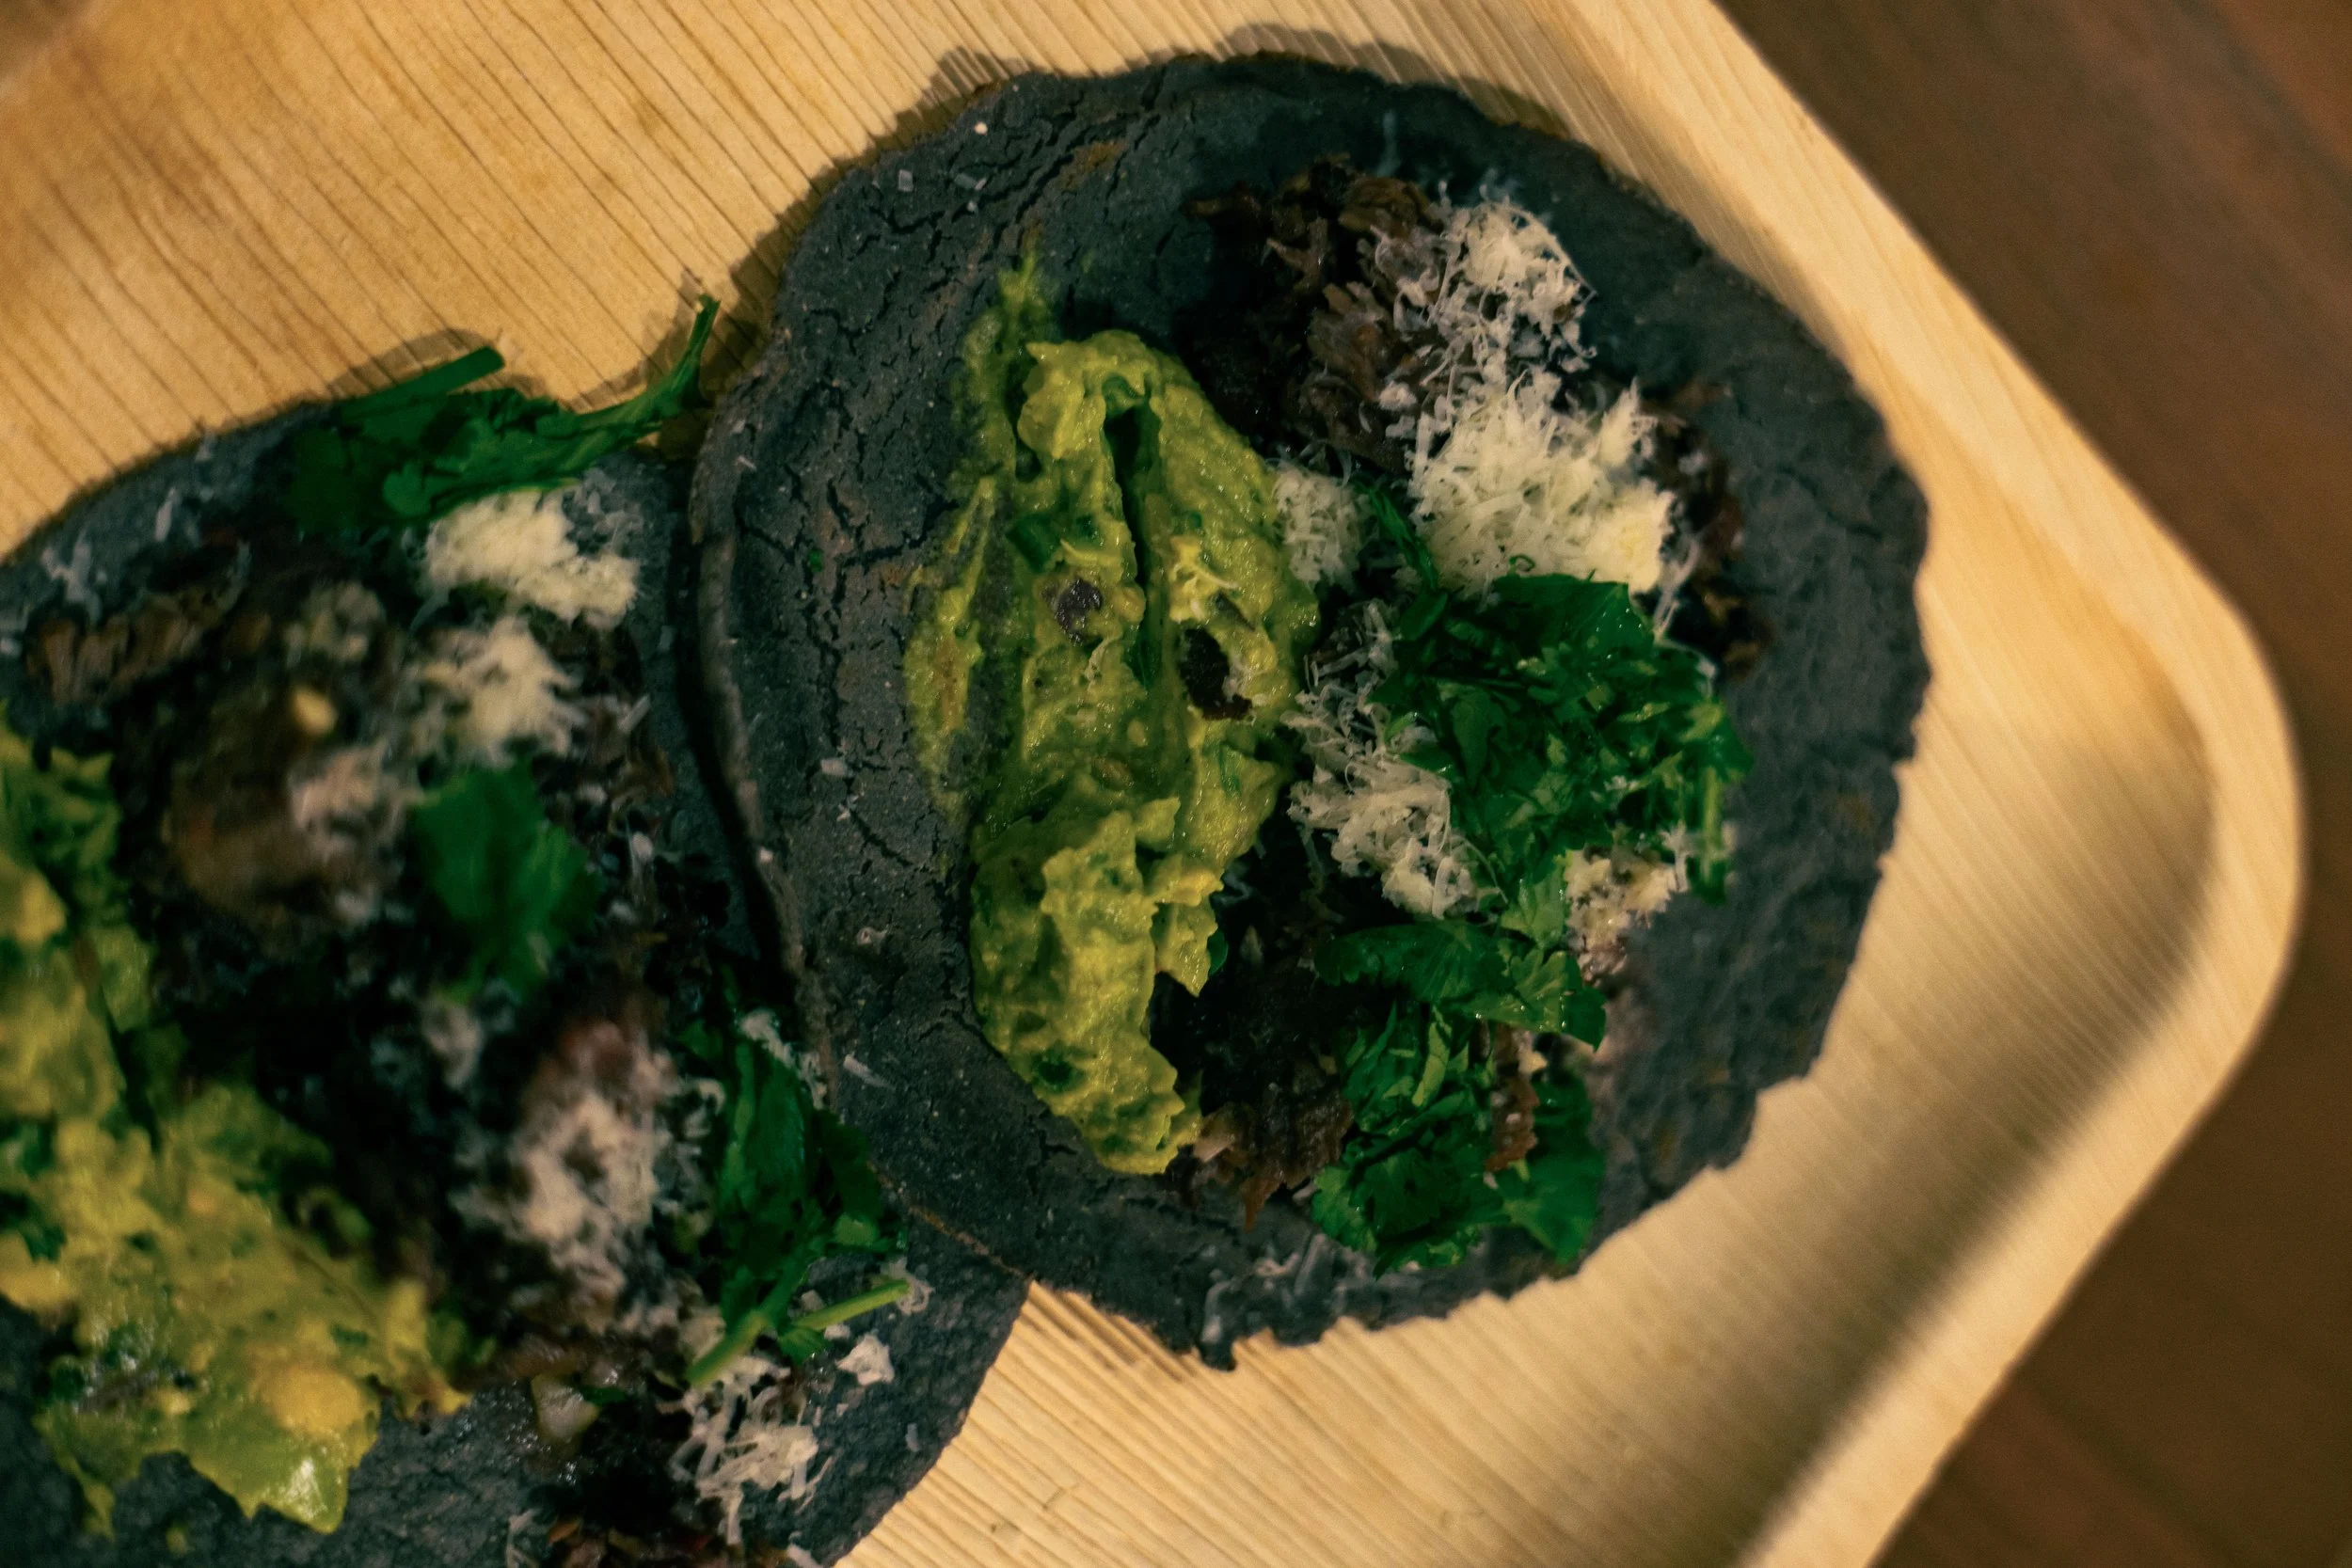
NOTES ON TACO ASSEMBLY:
• Reheat your tortillas until they begin to inflate.
• One side will be a bit more charred than the other — use this side as the interior of the tortilla: it's your defense against tears.
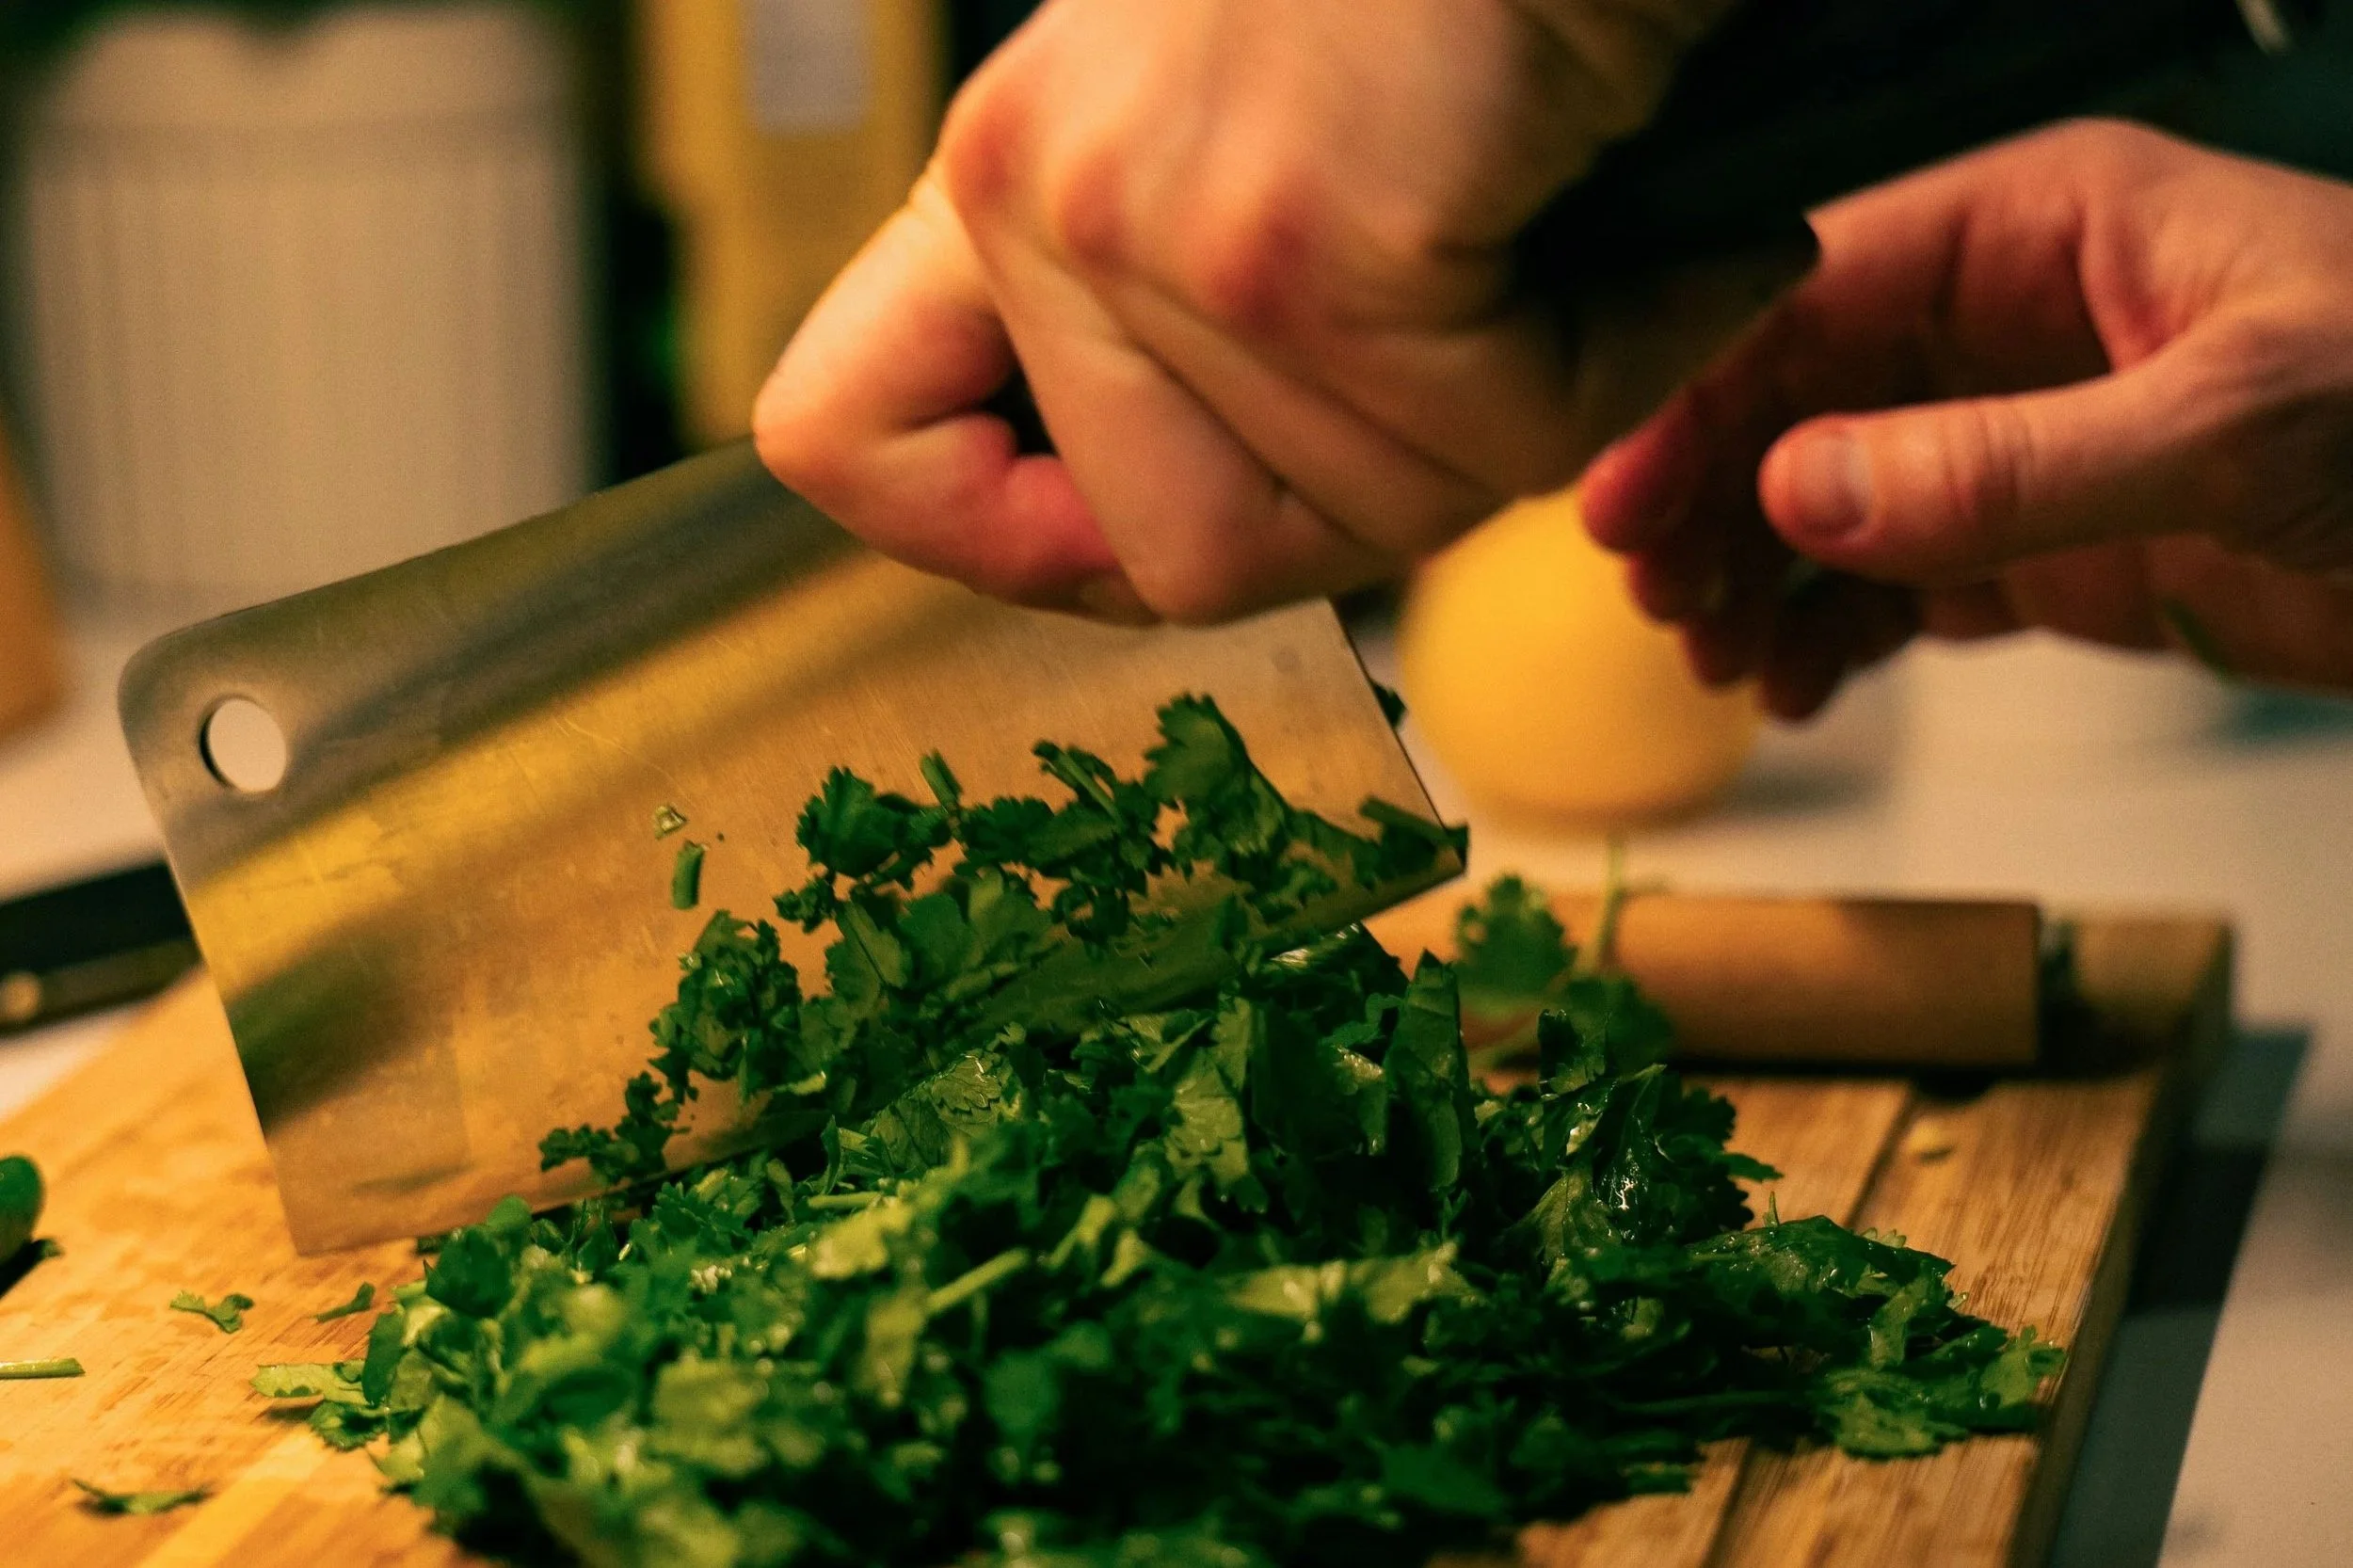
• Salsas and garnishes: we all have different spice tolerances and tastes for (or aversions to) cilantro — final toppings are "al gusto".
Base Ice Cream Recipe
This is a general recipe to guide you through your first time making ice cream (specifically with the KitchenAid ice cream bowl). You can add whatever flavors, toppings, pairings, etc., but this will get you there!
WARNING- unless you start in the morning, don’t expect to be eating the ice cream the same day.
-
1.5 cups whole milk
4–6 large egg yolks (if you want it more custardy, add more egg yolks)
1- 1 ¼ cups granulated sugar (can substitute brown sugar if you want)
1 hefty pinch of high quality salt
1 pint heavy cream
2 tbsp vanilla extract
Whatever flavors you want to add (syrups, fruit, chocolate, coffee, etc.) — further instructions required for processing
-
MOST IMPORTANT STEP: Freeze your KitchenAid bowl 24 hours in advance.
Add the egg yolks and ¼ cup of sugar into the mixing bowl and whisk with the whisk attachment until well combined.
Add the milk to a smaller saucepan/pot and heat until 165 degrees (don’t let it boil). If you don’t have a thermometer, you can test with your finger (should be almost too hot to touch).
Once the milk reaches 165 degrees, using a metal measuring cup, take about 1 cup of it and pour it into the egg and sugar mixture while whisking it.
Once combined, pour the egg/sugar/milk mixture back into the saucepan with the remaining milk, add the remaining sugar, and heat back up to 165 degrees while whisking (with a hand whisk).
After, remove from heat and let it cool (I put it in the fridge to speed it up).
Once the egg/sugar/milk mixture is cool, put it back into the mixing bowl, and add the heavy cream, vanilla and salt and whisk/mix well.
Once it is all incorporated, refrigerate for at least 4 hours or overnight.
Once the mixture is very cold, you can bust out the Kitchenaid ice cream bowl and the churning attachment.
Start the mixer at a relatively slow speed (I usually churn at speed 2 or in between 2 and 4).
Slowly pour the mixture into the bowl while it’s already turning/churning.
Churn for 20-30 minutes, until the ice cream has started to rise to the top of the bowl and the mixer seems to slow down a bit.
Once you feel it’s ready, turn the mixer off and spoon out the ice cream into freezer safe containers.
At this point it’ll be quite “soft serve” consistency, if you freeze it for a bit longer it’ll firm up perfectly.
Enjoy!
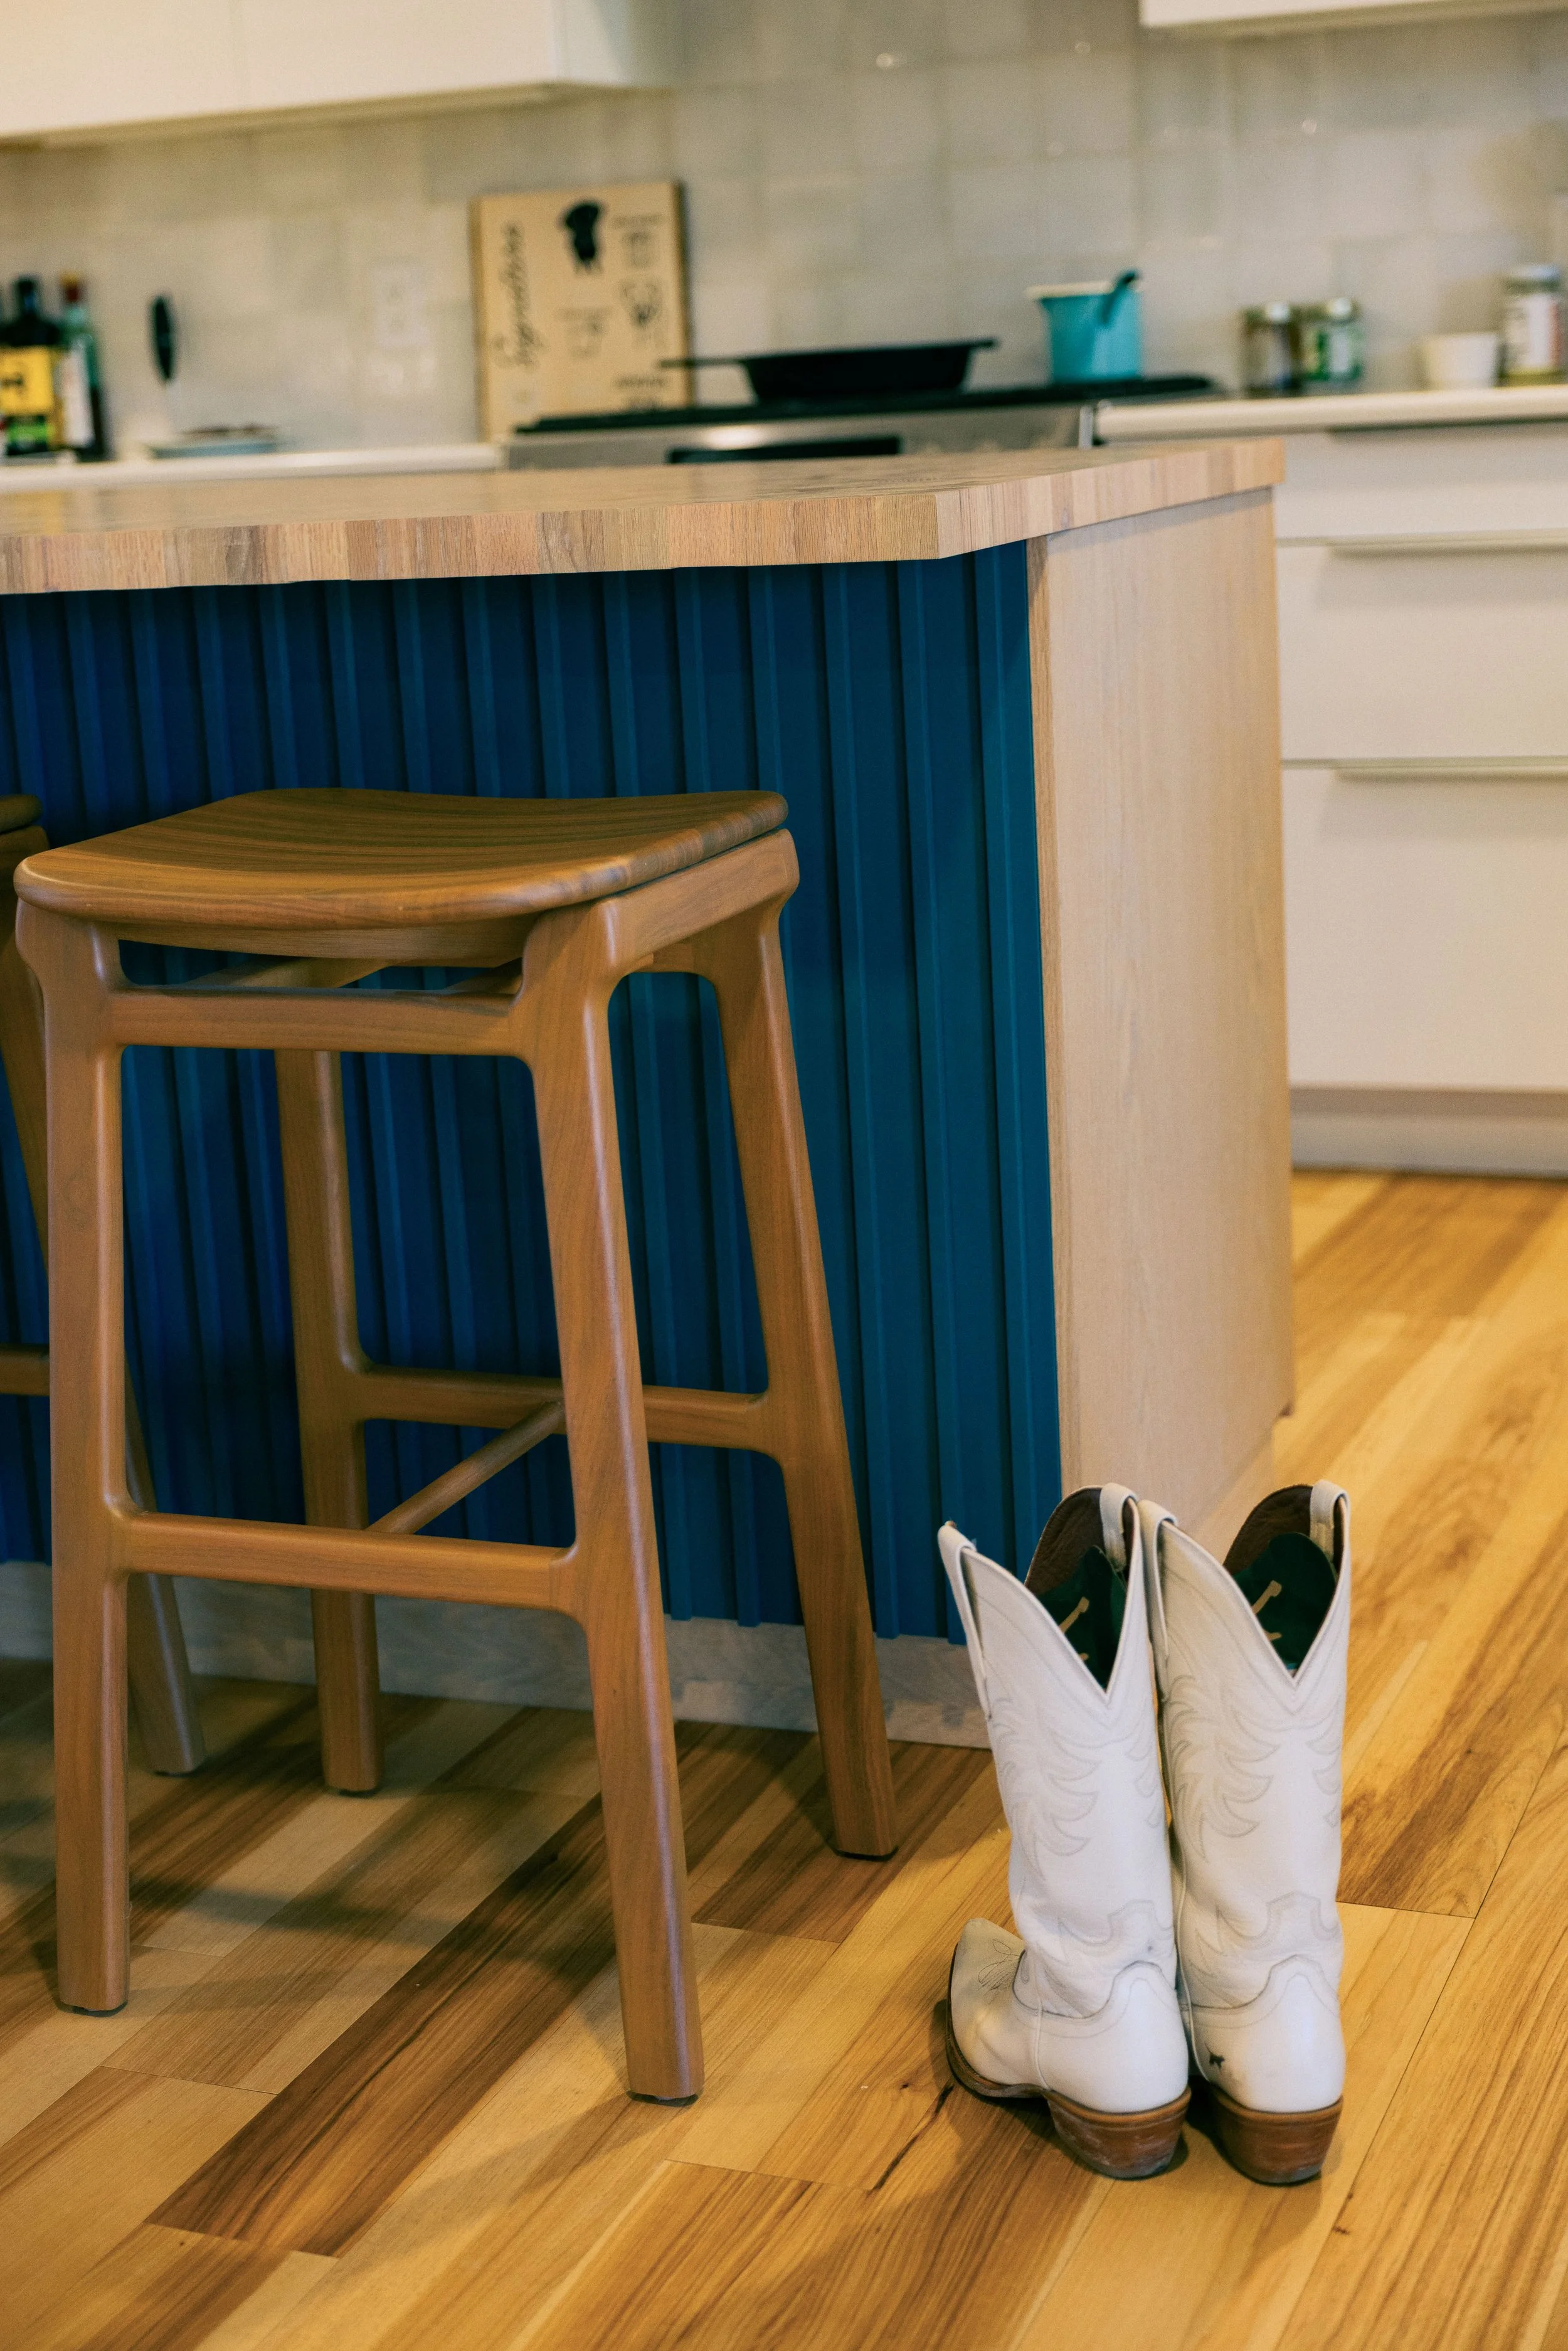
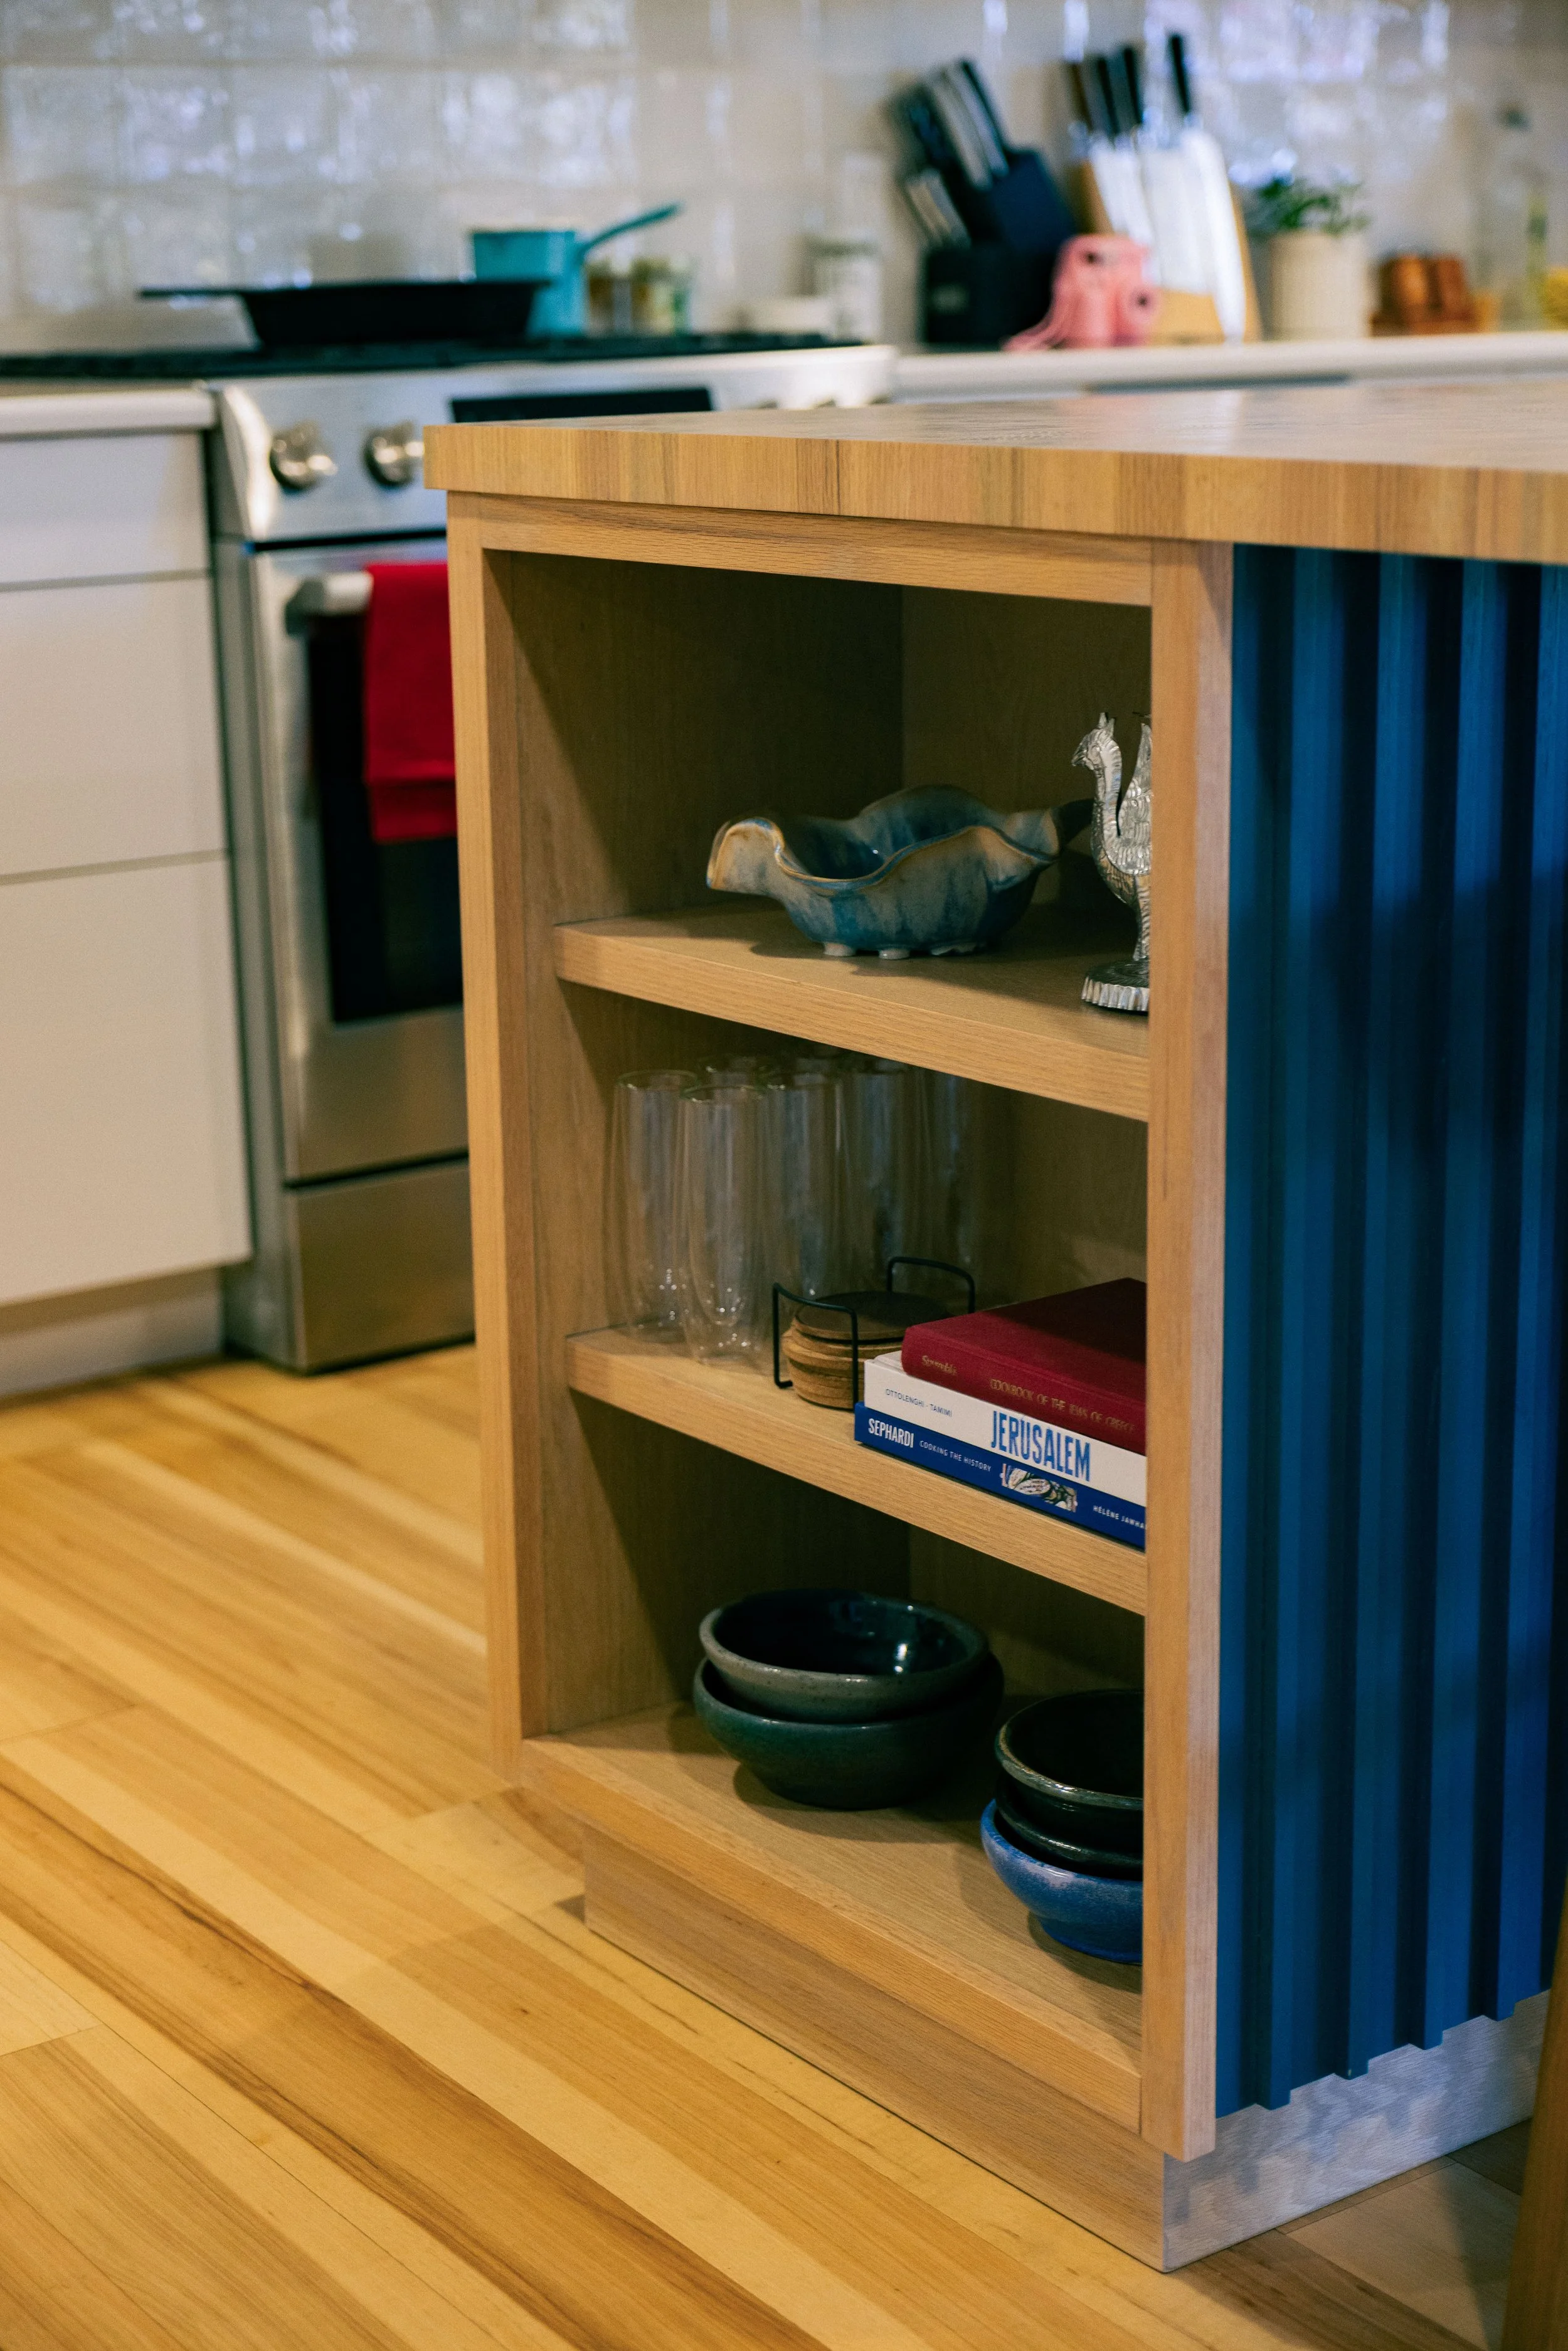
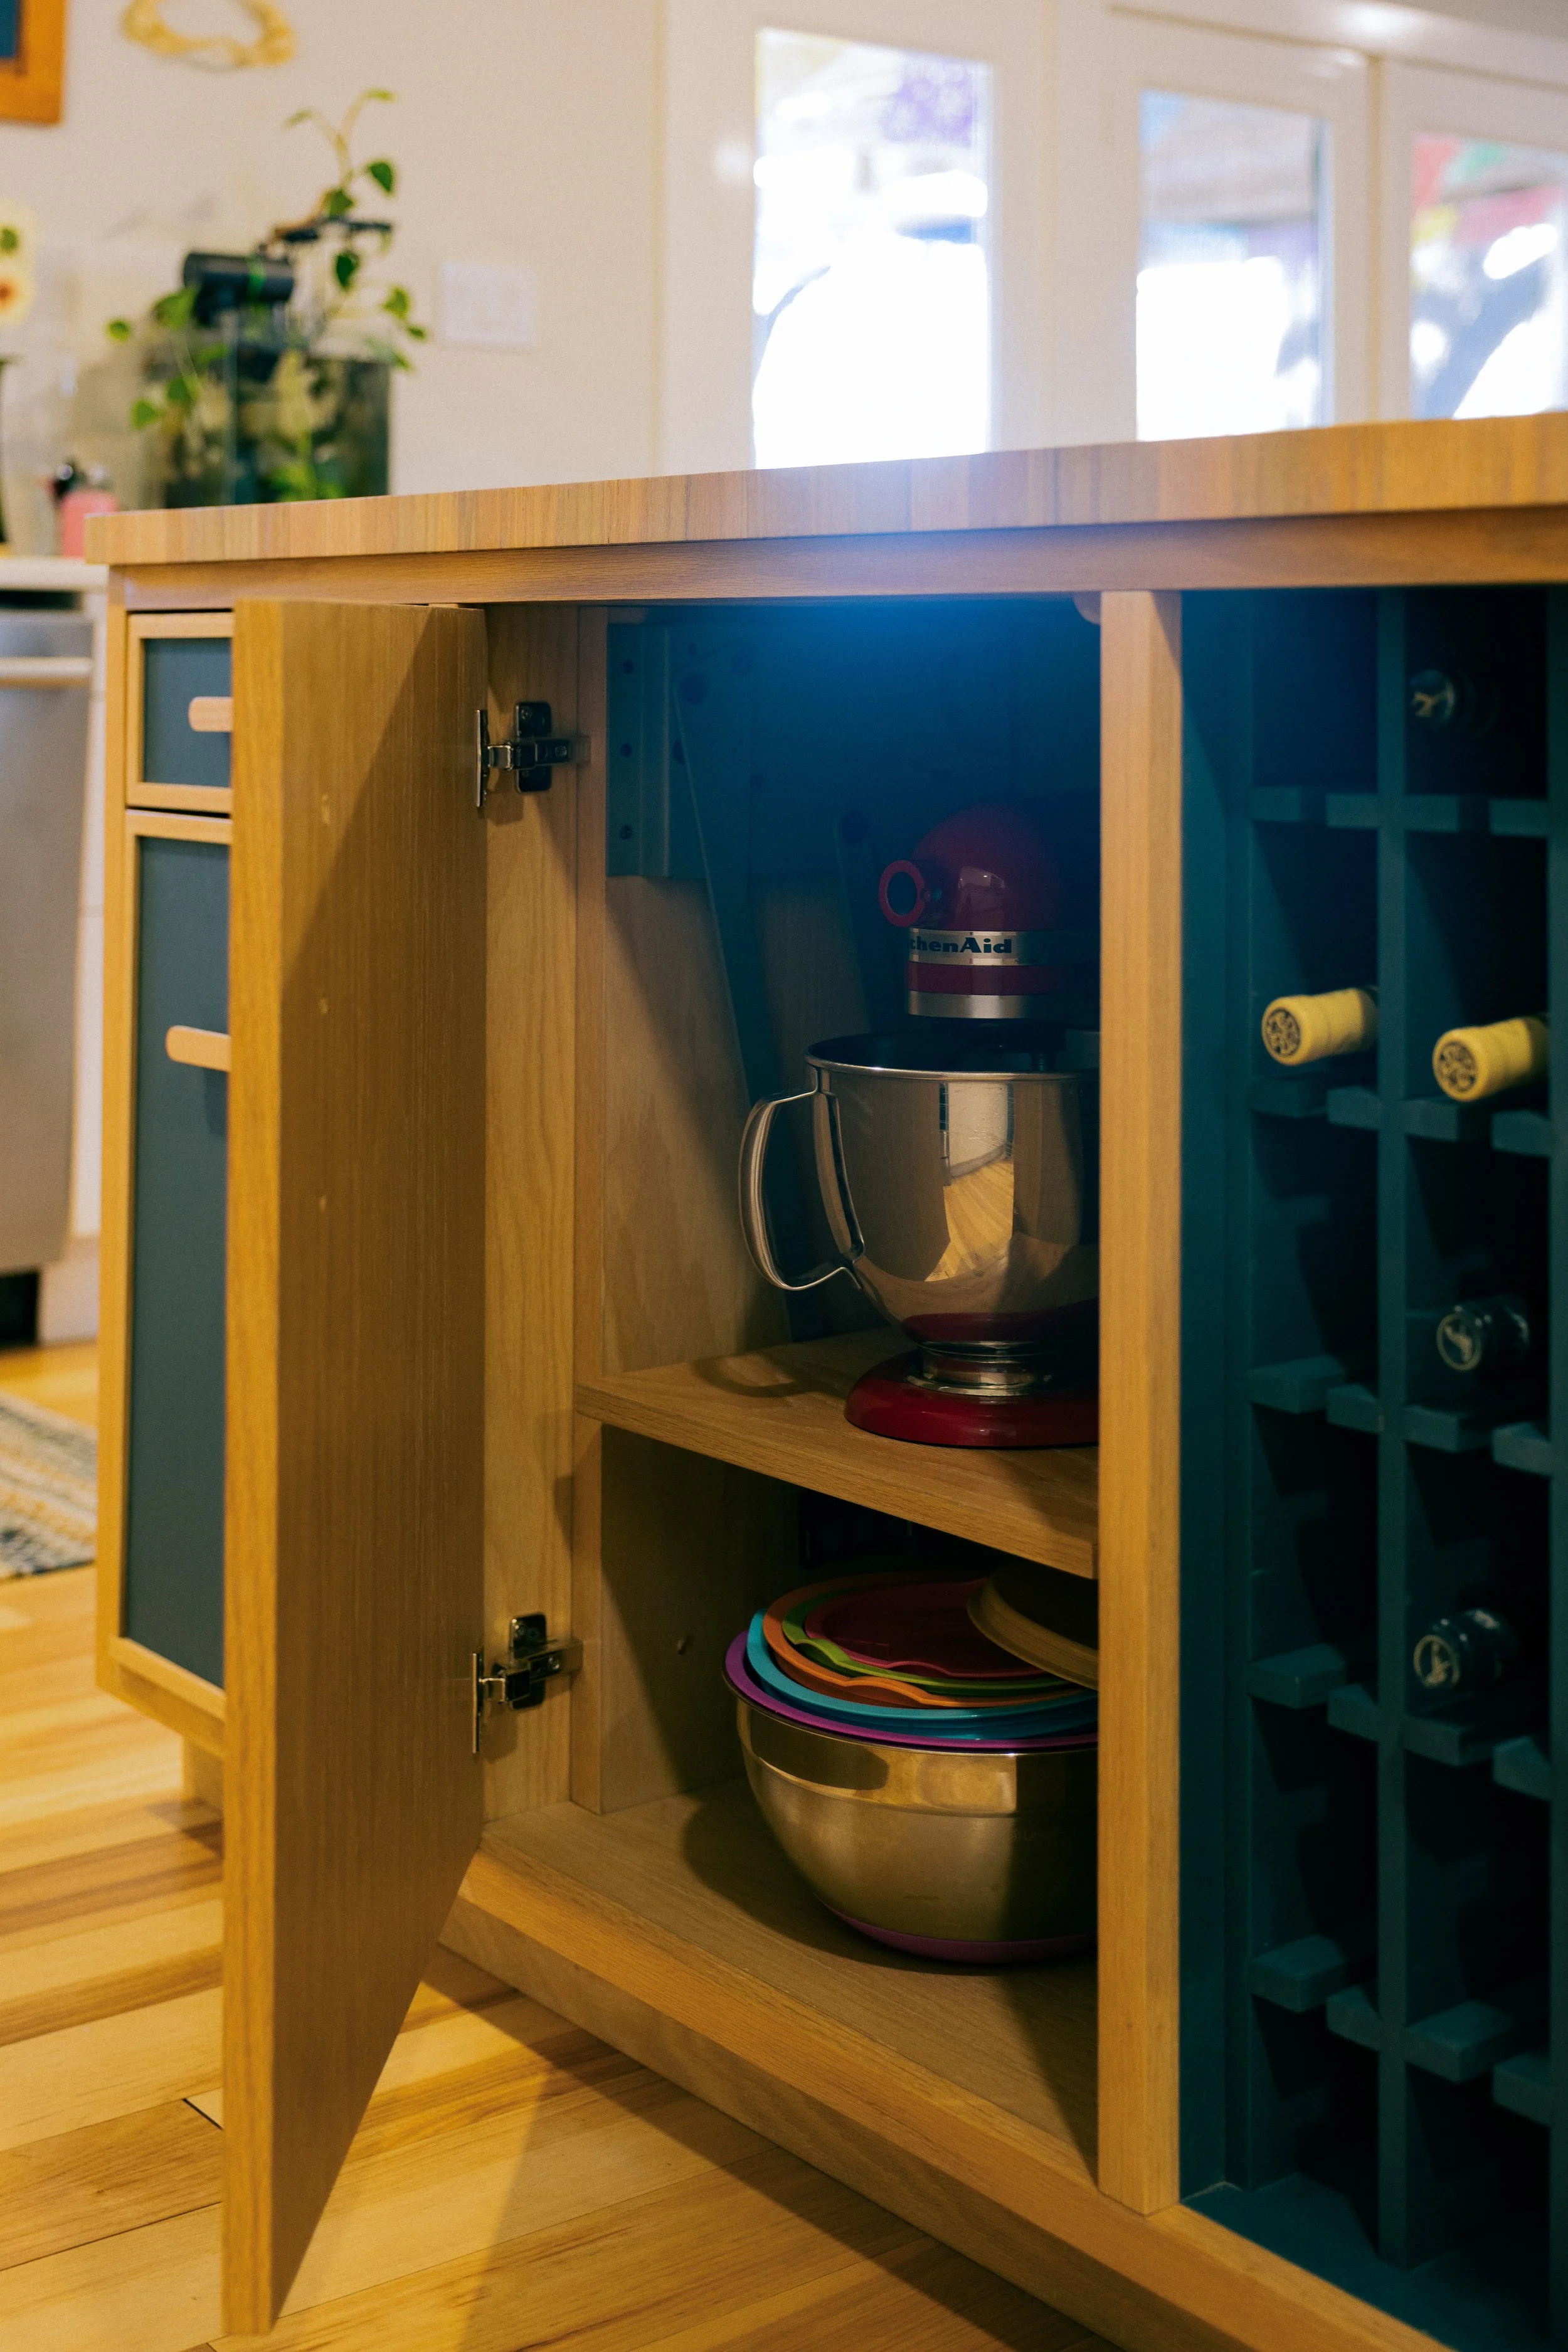
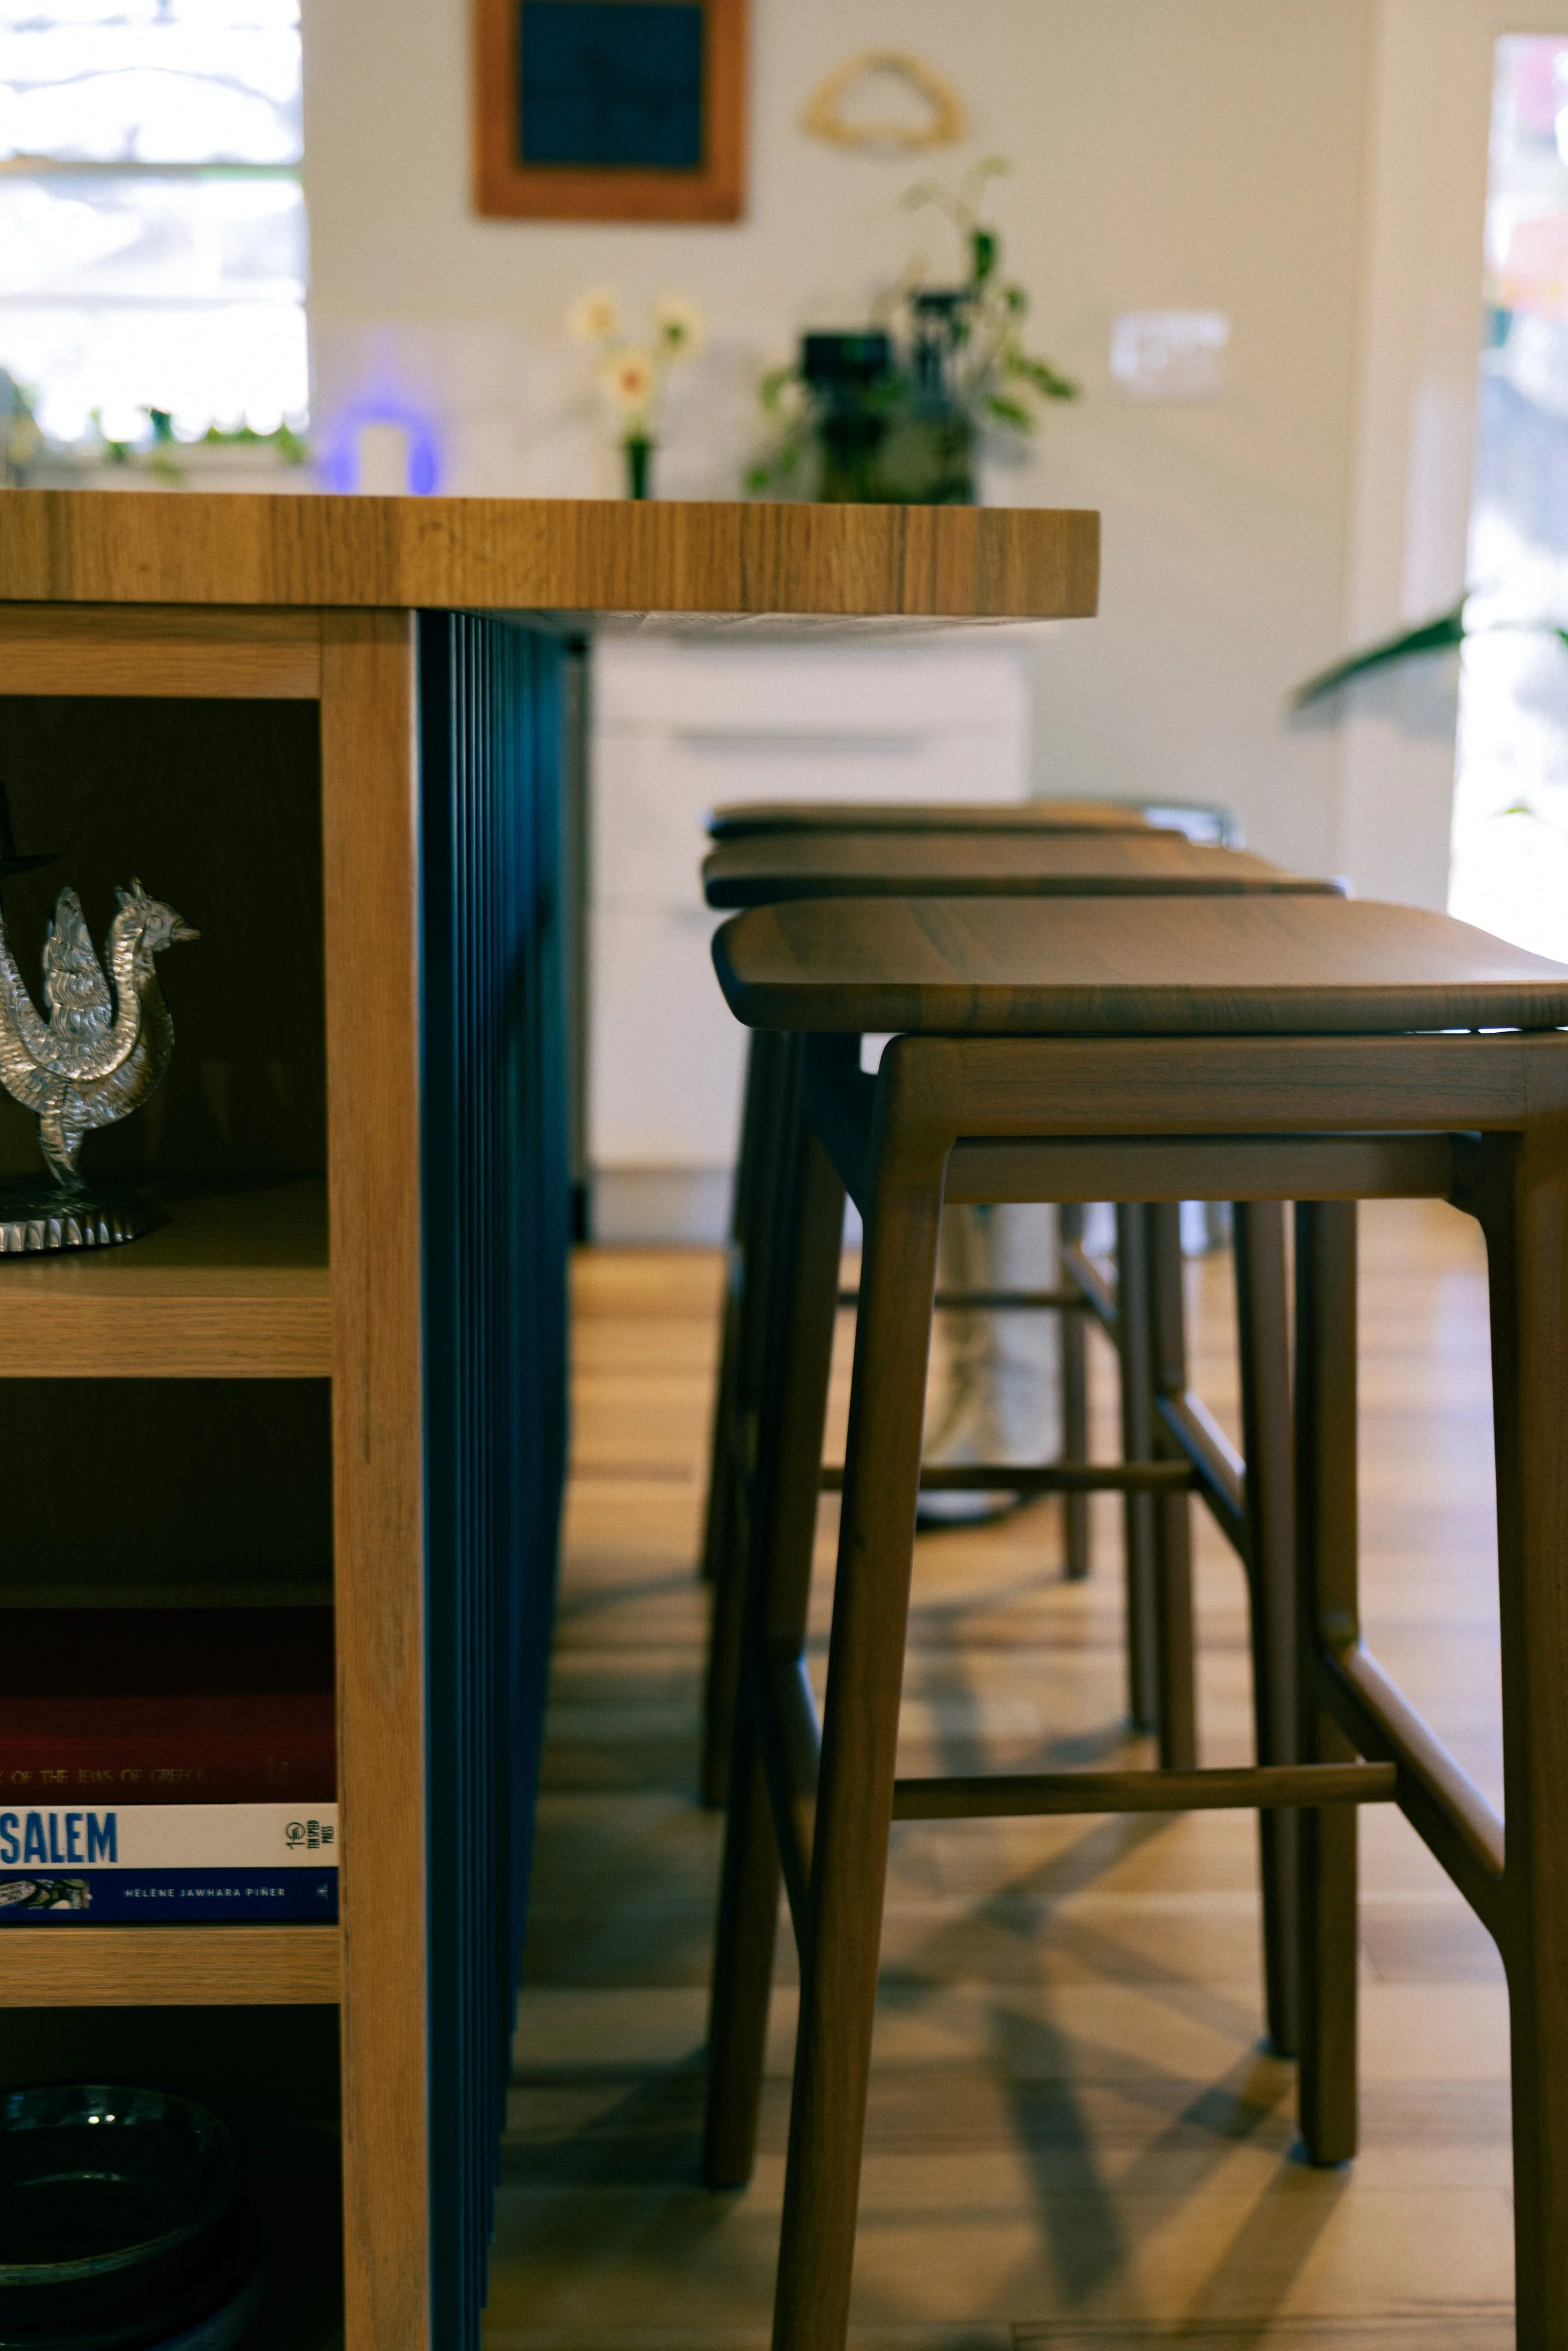
Read more about Elena and Josh’s custom kitchen island!